If you’ve ever watched someone zoom through the treetops and wondered, “okay, but what is zip lining, exactly?” you’re in good company. Plenty of first-timers feel a mix of curiosity and nerves. This guide walks you through everything, from how the ride works to how to pick a great operator.
Zip Lining Explained in Simple Terms
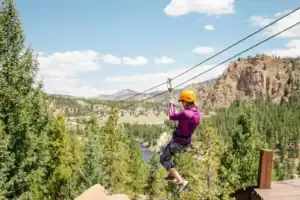
So, what is zip lining? It’s a ride where you’re clipped into a harness, attached to a pulley, and glide down a steel cable that slopes from a higher anchor point to a lower one. Gravity does the work, and you get the views.
It’s different from other adventures you may have heard of. A ropes course asks you to balance and climb across obstacles. An aerial adventure park bundles many of those challenges together. Via ferrata has you climb along fixed cables and rungs on a rock face. A zipline is mostly about the glide. The physics is friendly: gravity pulls you downhill, the pulley’s wheels keep friction low, and your body weight carries you along the cable.
How a Zip Line System Works
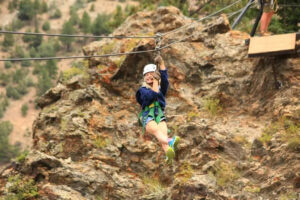
Every line runs from anchor to anchor, usually trees, poles, or rock. The steel cable is held under carefully calculated tension, and two measurements shape your ride: the span (how long the line is) and the grade (how steep it slopes). A longer span and steeper grade generally mean more speed, and heavier riders tend to travel faster too. Operators manage speed through cable tension, line design, and braking systems near the end of each line.
The Core Equipment Riders Wear and Use
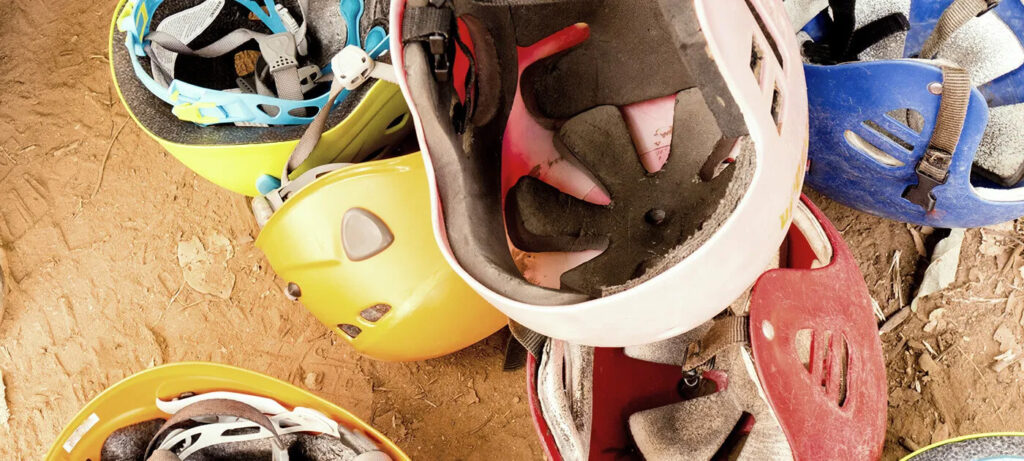
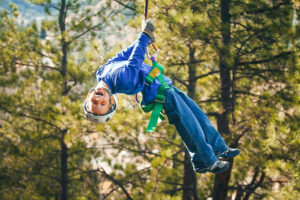
You’ll be issued a few key pieces. A helmet protects your head, a harness holds your body, a trolley (the pulley) rolls along the cable, and lanyards or carabiners connect you to it. Many courses also provide gloves for your hands.
Harnesses come in two main styles. A seat harness uses a waist belt and leg loops and is common on canopy tours. A full-body harness adds chest support and is often used for younger or smaller riders and on some adventure park courses.
A Brief History of the Zip Line
Cables strung across gorges were around long before anyone zipped for fun. They hauled supplies and people in mining and utility work. Researchers later borrowed the idea to reach the rainforest canopy without damaging it.
Then came the 1990s and 2000s. Entrepreneurs, especially in Costa Rica, realized visitors would happily pay to glide through the trees, and canopy tours took off. Ecotourism was booming, gear was getting safer, and travelers wanted active, scenic experiences. Today, what is ziplining? A worldwide recreation industry with courses on nearly every continent.
The Main Types of Zip Line Courses
Understanding what is zip line also means knowing there’s more than one flavor. Courses differ in terrain, line length, height, speed, and overall intensity, so it helps to figure out which style fits you.
Canopy Tours and Forest Courses
These tree-based courses are the classic starting point. You move through the forest in a guided group, riding several shorter lines between platforms built around trees. Speeds are modest and heights feel manageable, which makes canopy tours a favorite for families and first-timers. You also get plenty of time to look around and chat with your guides.
Mountain and Canyon Zip Lines
Terrain-anchored courses play on a bigger scale. Instead of tree-to-tree hops, you may cross an entire valley or canyon on one line, with dramatic exposure and sweeping views. Lines are often much longer than canopy lines, sometimes running thousands of feet, and speeds can be considerably higher. If you want a bigger thrill, this is your category.
Adventure Parks and Aerial Obstacle Courses
Here, a zip line is one element in a larger aerial course that may include bridges, nets, and climbing walls. Many parks are self-guided, meaning you clip and unclip yourself after a briefing, so you set your own pace and groups can be larger. Guided courses move together, with a team leading the way.
What a Zip Line Day Looks Like from Start to Finish
Most guided outings run about two to three hours, with groups of roughly eight to twelve riders. Expect some walking or light hiking between lines, from short strolls to steeper climbs depending on the course. Knowing what is zip lining day-to-day, rather than just on a brochure, helps you plan your schedule and energy.
Check-In, Gear Fitting, and Ground School
You’ll start by signing a waiver and, at many operators, stepping on a scale. Then a guide fits your helmet and harness and checks every buckle. Next comes ground school, where you practice on a low training line. This briefing matters because it teaches you how to hold your body, how to brake, and how to follow guide signals before you’re high off the ground.
The Ride Itself and Braking Methods
Braking comes in three common forms. With active braking, you use a gloved hand on the cable or a handheld device, so you carry some responsibility for slowing down. With passive braking, the system slows you automatically, often using a spring or friction brake. With guide-controlled braking, a guide at the platform manages your stop.
Most riders sit back in the harness with feet forward and hands on the trolley’s strap or lanyard. At the landing, listen to the guide, keep your feet up until told otherwise, and stay clipped in until you’re cleared.
Who Can Go Zip Lining: Age, Weight, and Fitness Requirements
Operators set limits for good reasons. Weight ranges keep riders within what the equipment and cable were engineered for, since too light a rider may stall and too heavy a rider may arrive too fast. Age and height minimums help make sure riders can follow safety instructions and fit the gear. Hiking requirements reflect the actual terrain between platforms.
Most operators ask you to consider mobility, pregnancy, recent surgery, and heart, back, or neck conditions. Check with your doctor if you’re unsure, and call the operator ahead of time.
Eligibility checklist (confirm with your specific course):
- Minimum and maximum weight (commonly somewhere around 60 to 280 pounds, but it varies)
- Minimum age (often 4 to 10, depending on the course)
- Age at which minors can ride unaccompanied
- Height requirements for harness fit
- Ability to walk or hike between lines
- Medical considerations like pregnancy or recent surgery
Requirements vary by course, so treat these as examples rather than universal numbers.
Safety Standards and Inspection Practices Worth Verifying
The industry is part regulated and part self-regulated. Rules differ by location, so independent inspection, engineering standards, and daily operational checks all play a role. Before booking, you can reasonably look for an operator that shares its inspection schedule, mentions daily gear and cable checks, and explains its braking systems and emergency plans.
Industry Certifications and Guide Training
Several recognized groups set standards or certify operators. The Association for Challenge Course Technology (ACCT) publishes widely used engineering and operating standards, and the Professional Ropes Course Association (PRCA) offers certification programs. Third-party inspection companies also verify courses. Seeing these names on an operator’s site signals that someone outside the company has reviewed the course.
Good guides typically complete structured training in equipment use, group management, and rescue techniques, and they practice emergency drills regularly. Don’t hesitate to ask about them.
How to Choose a Zip Line Operator
Read reviews with a critical eye: look for patterns, like repeated comments about guide professionalism or equipment condition, rather than a single glowing or angry post. Check the safety page and course specifications, and ask questions directly. A good operator is happy to answer, and what is zipline without confident answers? Not something you’ll want to try.
Decision checklist:
- How often is the course independently inspected?
- What’s the guide-to-guest ratio?
- How many lines, and how long is the course?
- What braking system do they use?
- What are the cancellation and weather policies?
- Is transportation to the course included?
What to Wear and Bring on a Zip Line Trip
Now that you know what is zip lining from the ground up, dressing for it is simple. Choose comfortable clothes you can move in, and wear closed-toe shoes with good grip. Layers help since temperatures change with elevation and season: lighter layers for summer, warmer ones for cooler months. Most operators ask you to secure or leave behind loose items, and many restrict phones and cameras unless they’re tethered or the operator takes photos for you.
Packing checklist:
- Closed-toe, secure footwear
- Layers suited to the weather
- Hair tied back, with dangling jewelry removed
- Sunglasses with a strap, if you wear them
- Sunscreen and water
- Keys, wallets, and extra items left in the vehicle
Cost, Booking Windows, and Seasonal Considerations
Prices vary widely. Canopy tours often cost less than long mountain or canyon courses, and costs rise with line count, tour duration, transportation, and add-ons like photos. Expect a range from around $60 for shorter tours to well over $150 for big-scale adventures.
Summer weekends and holidays fill fast, so book a few weeks ahead if you can. Weather policies typically allow rescheduling or refunds for lightning or high winds, but read the fine print.
Planning Your First Zip Lining Experience with Confidence
By now, you have a clear answer to what is zip lining and what to expect. A few takeaways: match the course type to your group, with canopy tours for families and nervous beginners and mountain lines for thrill-seekers. Verify certifications and inspection practices, check eligibility before you book, and dress for comfort.
For your next step, shortlist two or three operators, compare their policies, and give them a call. And consider making a full day of it: pairing zip lining with whitewater rafting with rafting and zipline packages gives you a day on the water and a day above the trees, a combination that’s hard to beat for a full day outdoors. Book one of the following trips today:

Meet Mitchell, the newest member of the Outlaw team, who’s always on the lookout for hidden gems—whether that’s in a thrift store, at the most aesthetic coffee shop, or the next marketing campaign! Social media is his one true passion, and writing and telling stories has always accompanied it. When he’s not typing away on his next great story or blog post, you can find him at Wash Park playing grass volleyball or rollerblading at a safe speed.
His motto? “Smile, it’s always in style!” A perfect reminder to keep things light, positive, and full of good vibes—just like his approach to life, marketing, and writing!